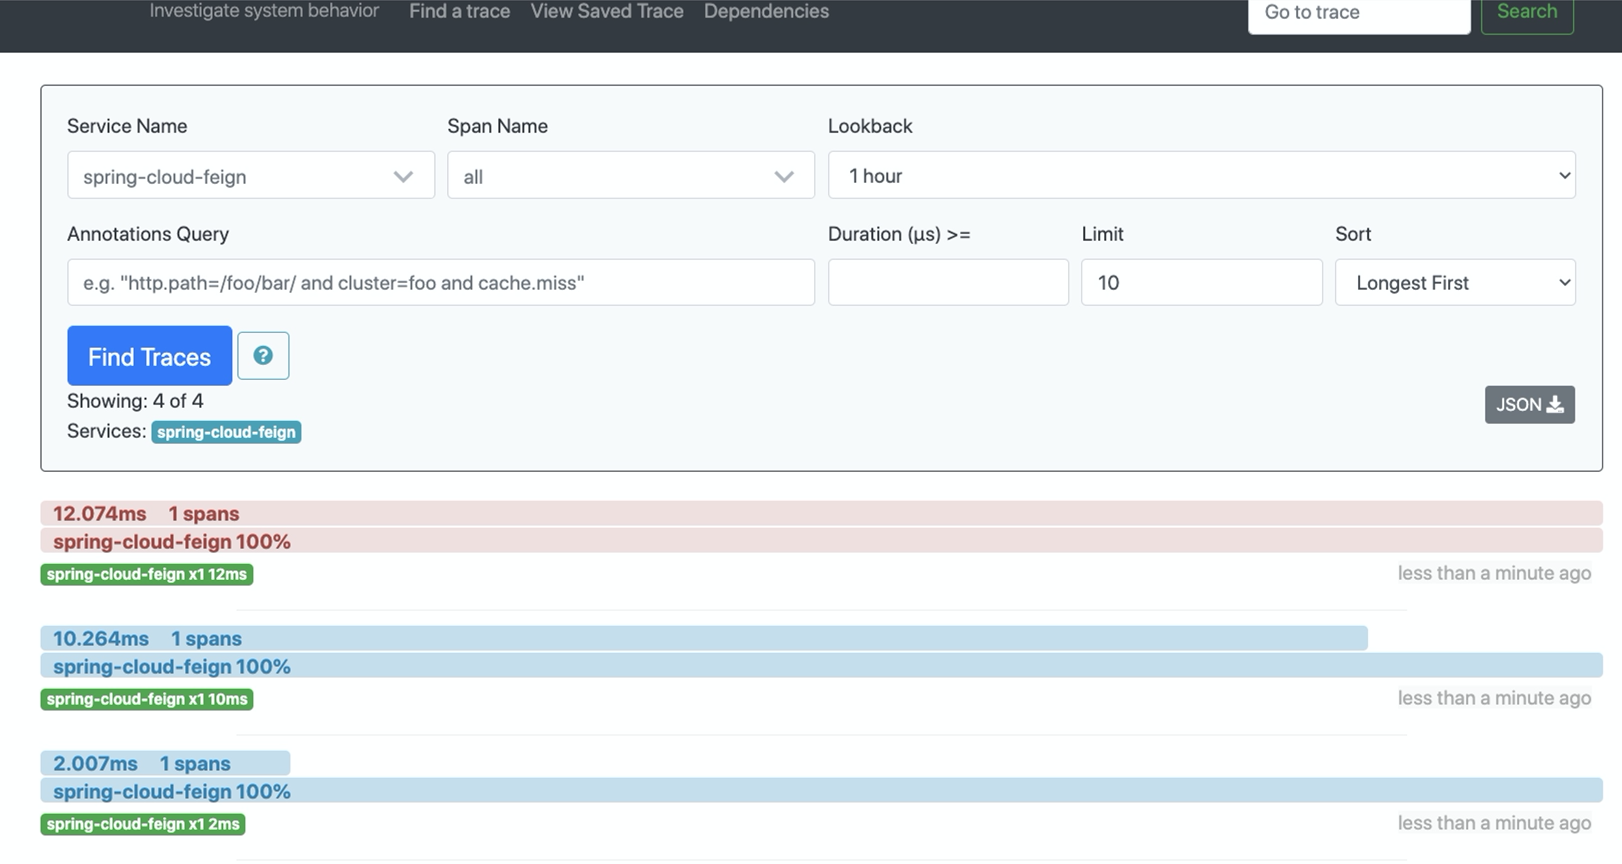
Zipkin是一个开源的分布式实时数据追踪系统(Distributed Tracking System),每个Service向Zipkin报告请求数据,Zipkin会根据调用关系通过Zipkin UI生成依赖关系图,让开发者通过一个Web前端轻松的收集和分析数据,如用户每次请求服务的处理事件等,可方便分析系统中存在的瓶颈。
前言 随着业务越来越复杂,系统也随之需要进行拆分,特别是随着微服务架构和容器技术的兴起,看似简单的应用,后端可能需要多个Service的支持。当前端向后发送请求,后端可能需要进行多次Service调用才能完成,当请求变慢或者不可用时,单凭我们无法得知是哪个后端Service引起的,这时就需要快速定位故障点,Zipkin就可以很好的解决这样的问题。
这里我是在Spring Cloud的基础上搭建的Zipkin。
pom.xml 创建Zipkin微服务,并引入依赖,主要是两个zipkin-server和zipkin-autoconfigure-ui:
1 2 3 4 5 6 7 8 9 10 <dependency > <groupId > io.zipkin.java</groupId > <artifactId > zipkin-server</artifactId > <version > 2.11.8</version > </dependency > <dependency > <groupId > io.zipkin.java</groupId > <artifactId > zipkin-autoconfigure-ui</artifactId > <version > 2.11.8</version > </dependency >
需要注意的是:
这里的version如果不匹配会发生各种奇怪的异常导致程序跑不起来,所以如果你的程序报异常,建议你检查一下zipkin版本以及SpringBoot、SpringCloud的版本;
zipkin-server中包含了log4j-slf4j-impl这个组件,这可能会与springboot中的logback重复产生异常如下,如果出现只需在zipkin-server的dependency中添加<exclusion>将log4j-slf4j-impl排除即可。
1
2
3
4
5
6
7
8
9
[ERROR] [XXX Enforcer Rules] find DuplicateClasses Found in: org.apache.logging.log4j:log4j-slf4j-impl:jar:2.6.2:compile ch.qos.logback:logback-classic:jar:1.1.7:compile Duplicate classes: org/slf4j/impl/StaticMDCBinder.class org/slf4j/impl/StaticMarkerBinder.class org/slf4j/impl/StaticLoggerBinder.class
另外引入如下依赖:
1 2 3 4 5 6 7 8 9 10 11 12 13 14 15 16 17 18 19 20 21 22 23 24 25 26 27 <dependency > <groupId > org.springframework.cloud</groupId > <artifactId > spring-cloud-starter-netflix-eureka-client</artifactId > <version > 2.0.4.RELEASE</version > </dependency > <dependency > <groupId > org.springframework.boot</groupId > <artifactId > spring-boot-starter-test</artifactId > <scope > test</scope > <exclusions > <exclusion > <groupId > org.junit.vintage</groupId > <artifactId > junit-vintage-engine</artifactId > </exclusion > </exclusions > </dependency > <dependency > <groupId > org.junit.jupiter</groupId > <artifactId > junit-jupiter-api</artifactId > <version > 5.6.2</version > <scope > test</scope > </dependency > </dependencies >
配置文件 修改配置文件:
1 2 3 4 5 6 7 8 9 10 11 12 13 14 eureka: client: service-url: defaultZone: http://localhost:8761/eureka server: port: 8769 spring: application: name: spring-cloud-zipkin2
上面就是我们给zipkin的配置,但是若是在启动过程中报出异常[java.lang.IllegalArgumentException: Prometheus requires that all meters with the same name have the same set of tag keys.],此时我们就需要在配置文件中添加:
1
2
3
4
5
management: metrics: web: server: auto-time-requests: false
Application 修改Application添加注解@EnableEurekaClient以及EnableZipkinServer。
1
2
3
4
5
6
7
8
9
10
11
12
13
14
15
16
17
18
package com.giotto.demozipkin2;import org.springframework.boot.SpringApplication;import org.springframework.boot.autoconfigure.SpringBootApplication;import org.springframework.cloud.netflix.eureka.EnableEurekaClient;import zipkin2.server.internal.EnableZipkinServer;@SpringBootApplication @EnableEurekaClient @EnableZipkinServer public class DemoZipkin2Application public static void main (String[] args) SpringApplication.run(DemoZipkin2Application.class, args); } }
Service端 当ZipkinServer端配置好后,我们同样需要在Service中配置Zipkin,这样才能将数据实时发送到ZipkinServer,首先给需要配置Zipkin的Service添加如下依赖:
1 2 3 4 5 6 7 8 <dependency > <groupId > org.springframework.cloud</groupId > <artifactId > spring-cloud-starter-sleuth</artifactId > </dependency > <dependency > <groupId > org.springframework.cloud</groupId > <artifactId > spring-cloud-sleuth-zipkin</artifactId > </dependency >
在配置文件中,配置Zipkin:
1
2
3
4
5
6
spring: zipkin: base-url: http://localhost:port sleuth: sampler: probability: 1.0
运行 启动后,只需访问http://localhost:port/zipkin/即可。
